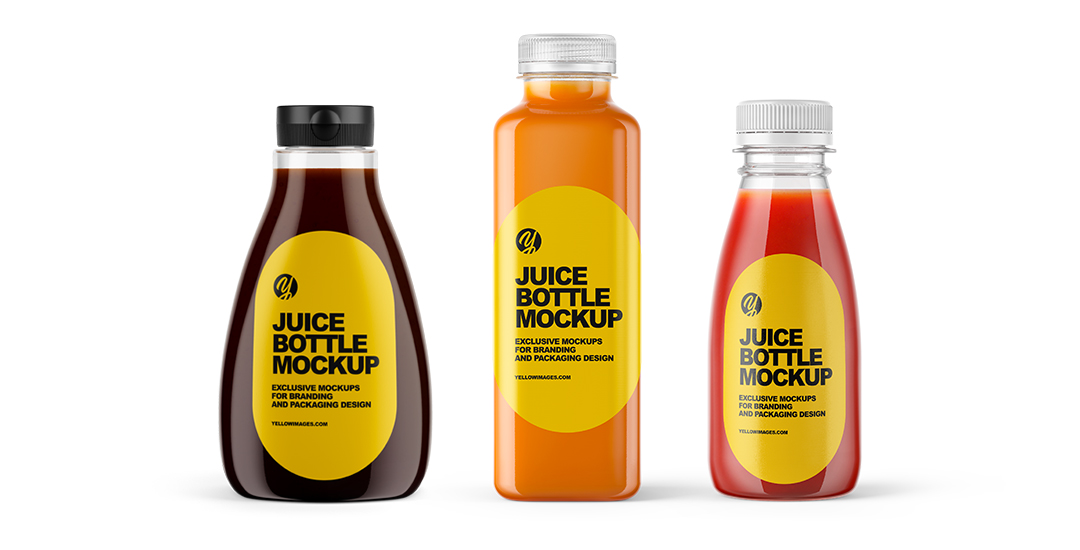
If you work with a bottle or a jar mockup you might wonder how to change a default shape of the label. Smart layers in our packaging mockups can help you customize the labels any way you want.
We will work with Sauce Bottle Mockup, but all of our packaging mockups have the same functions and file structure. So you can use this guide to work with other mockups too!
Here is what we want to achieve:
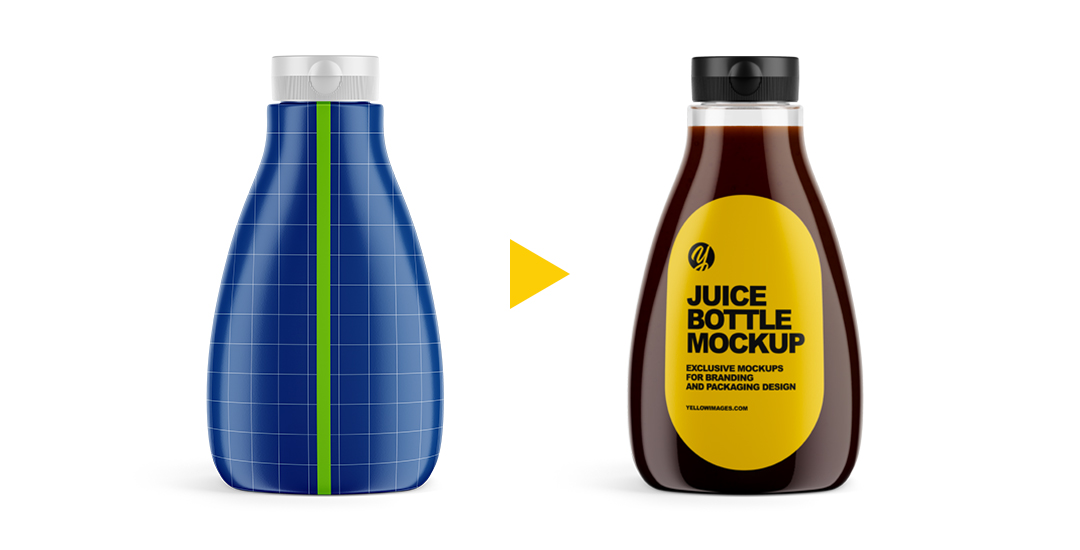
Here is how we do it:
Once you open the mockup file in Photoshop, proceed to the Layers window.
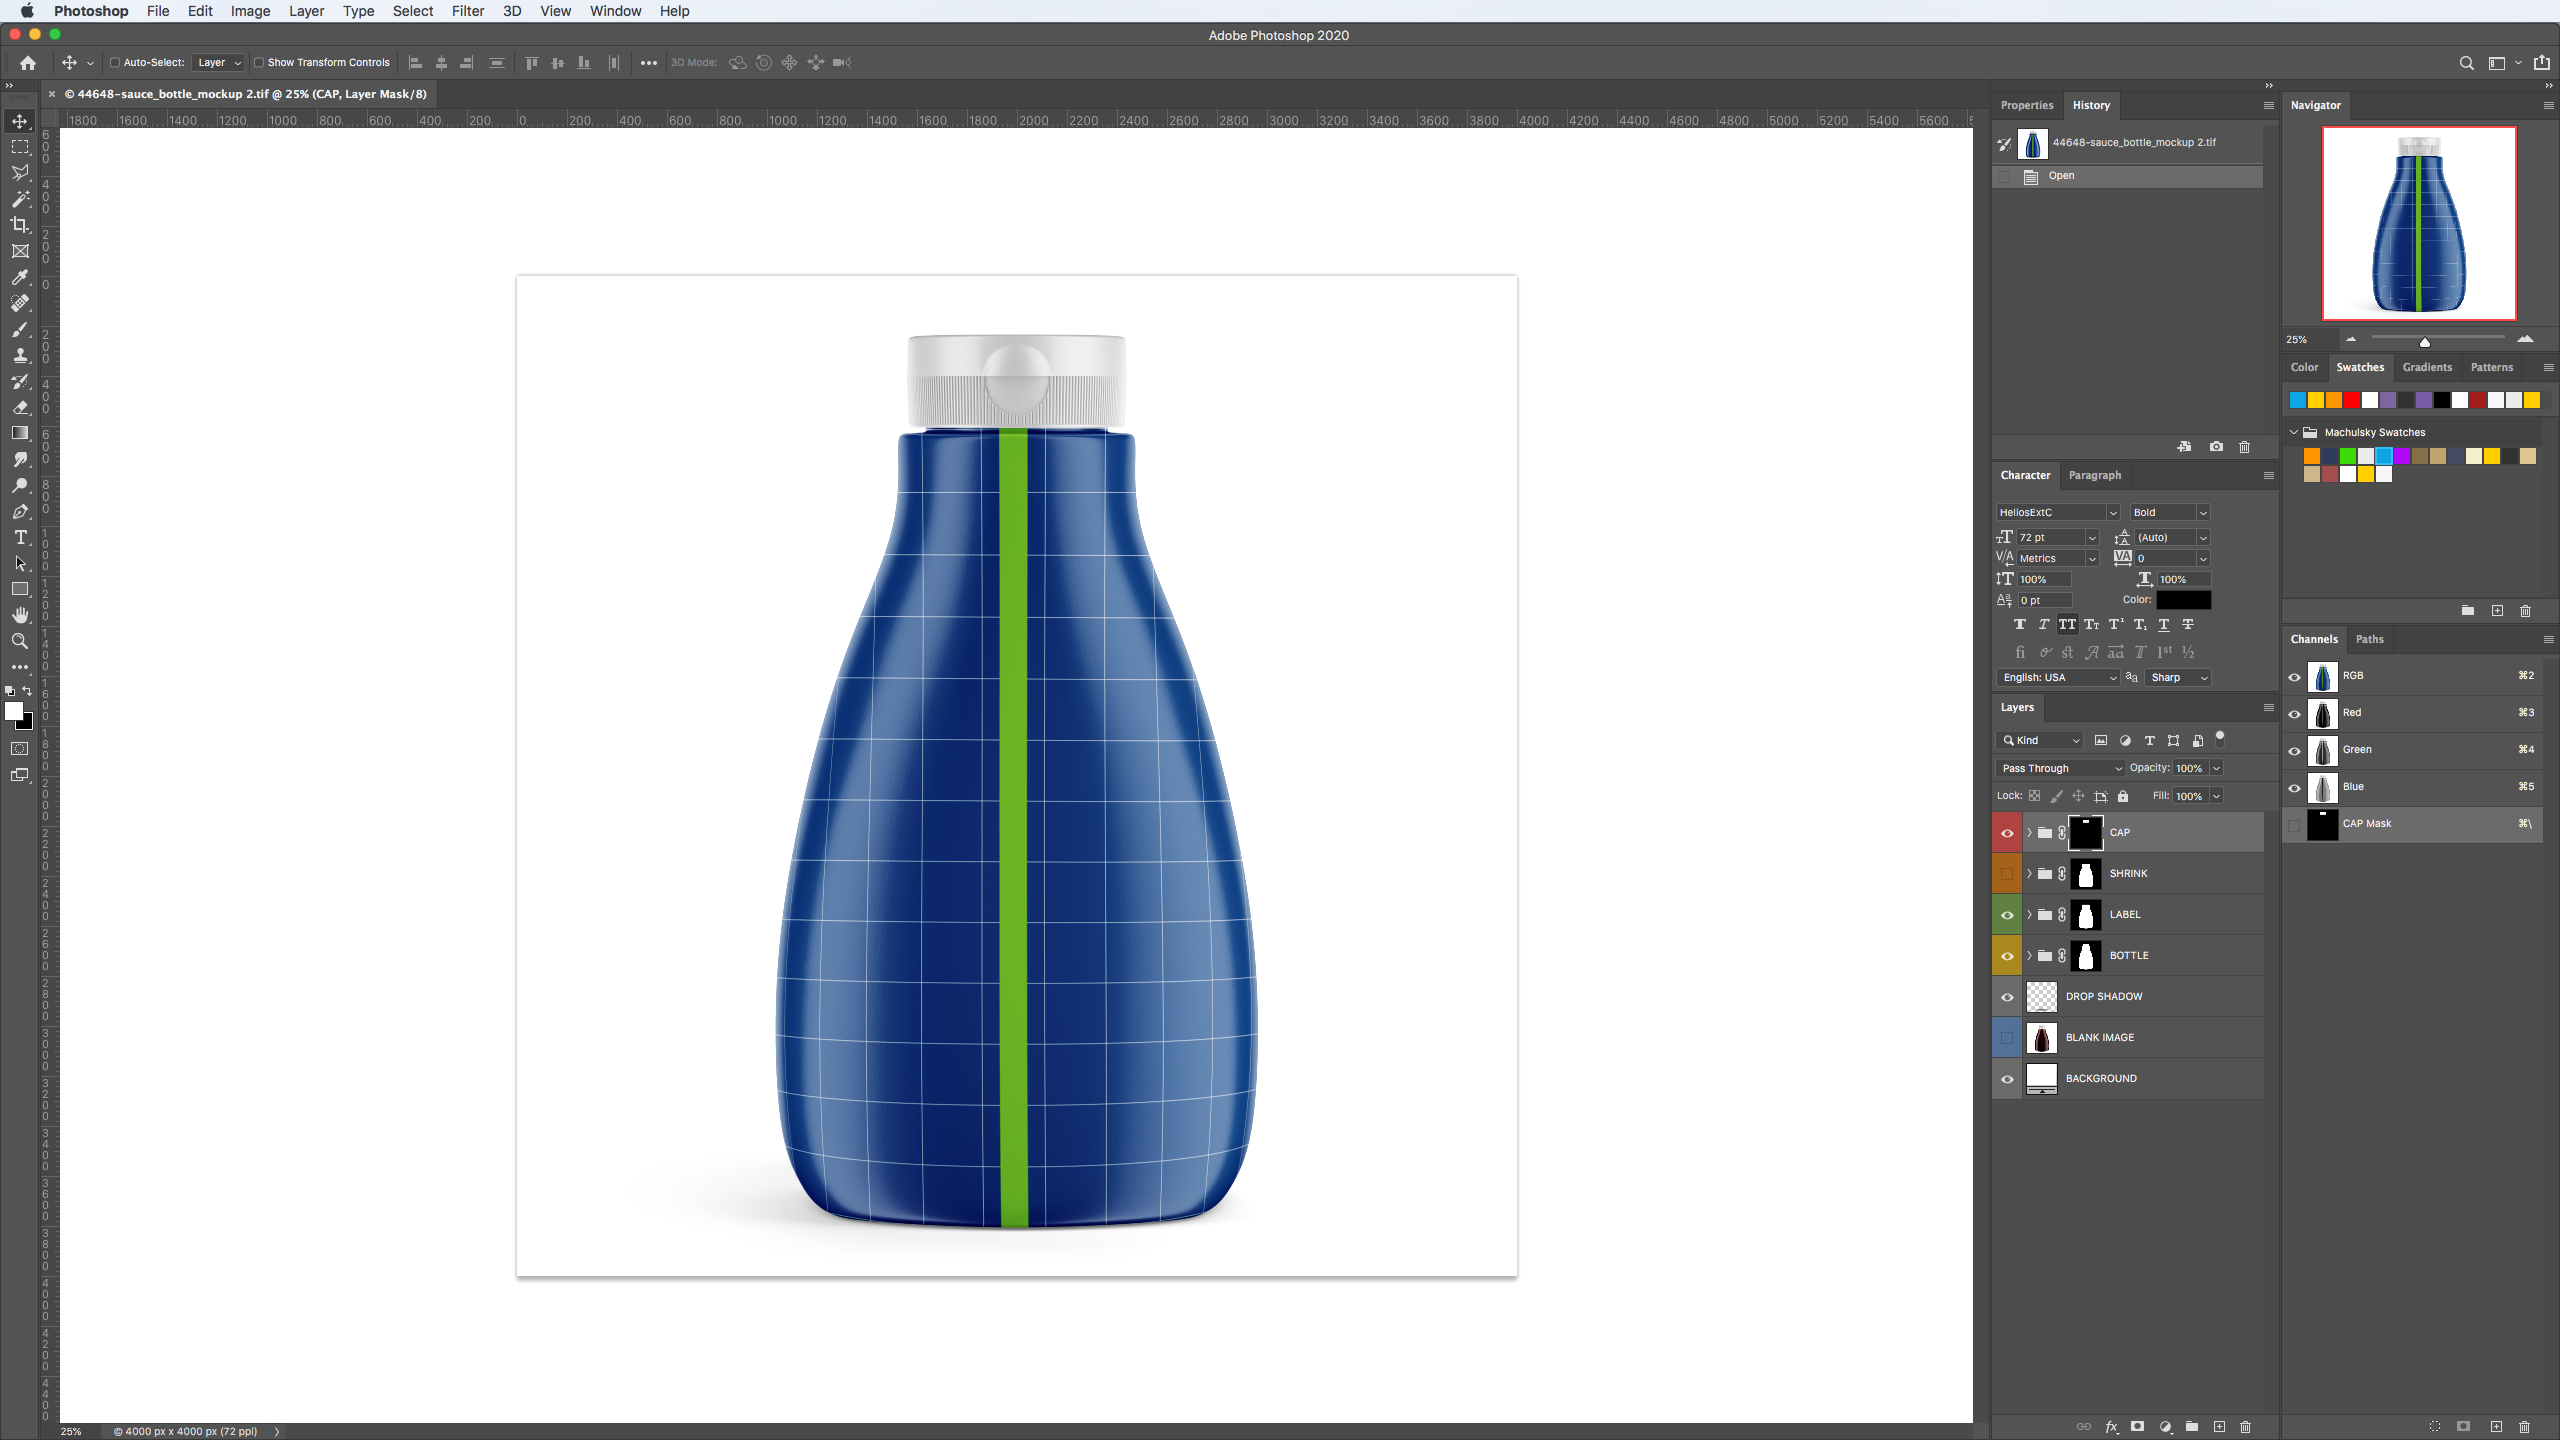
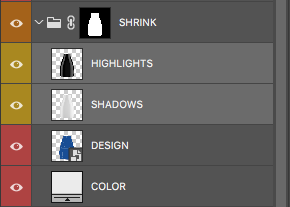
Then find the layer folder containing the label. In Sauce Bottle Mockup this folder is called SHRINK.
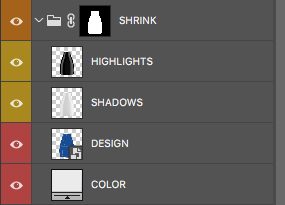
Open the folder and select HIGHLIGHTS and SHADOWS layers. We will apply the clipping mask to these layers to make sure the bottle and the label have a correct lighting.
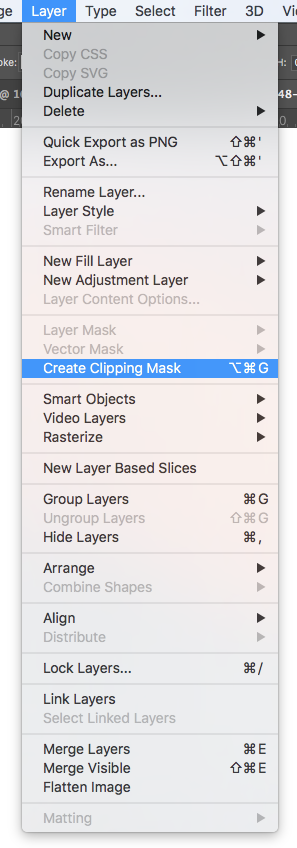
To create the clipping mask, you can either:
a) use the Layer drop-menu and select Create Clipping Mask; or
b) use a hotkey combination - Alt+Cmd+G (for MacOs) and Alt+Ctrl+G (for Windows).
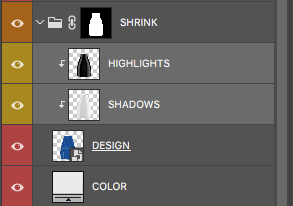
Once you do this, you will see small arrows next to the HIGHLIGHTS and SHADOWS layers. It means that lighting applies to the layer, or a group of layers.
Next, we need to disable the color filling of the label. Just click on the 'eye' icon near the COLOR layer to turn it off.
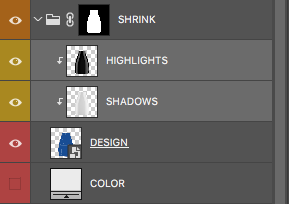
Now we can work with the smart layer and apply our design to the bottle!
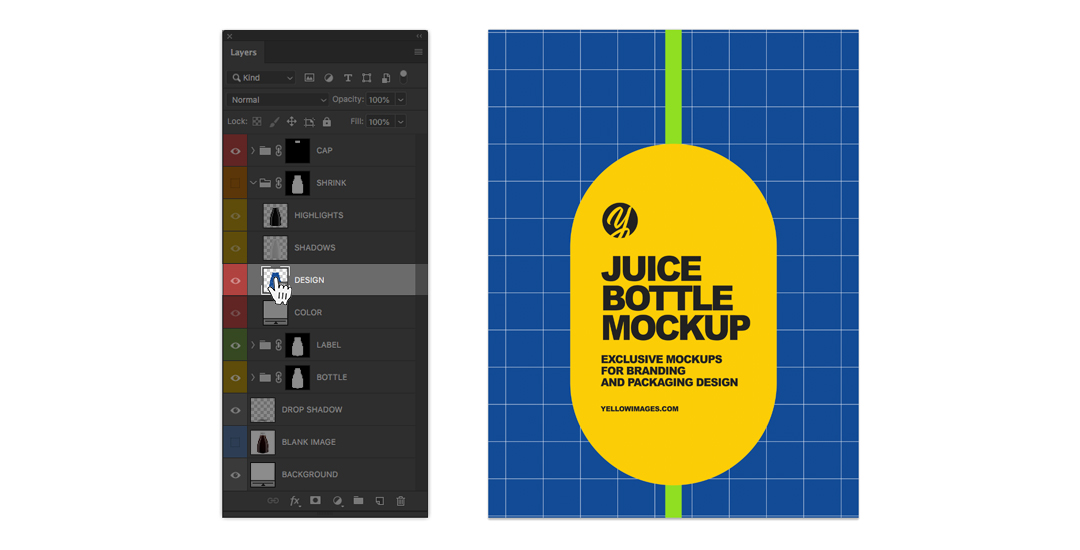
Double-click on the DESIGN layer to open the smart object layer and place your design on it. Make sure your label design has a transparent background.
Click on the 'eye' next to the ADD YOUR DESIGN layer to turn off the blue grid, marking the editable area.
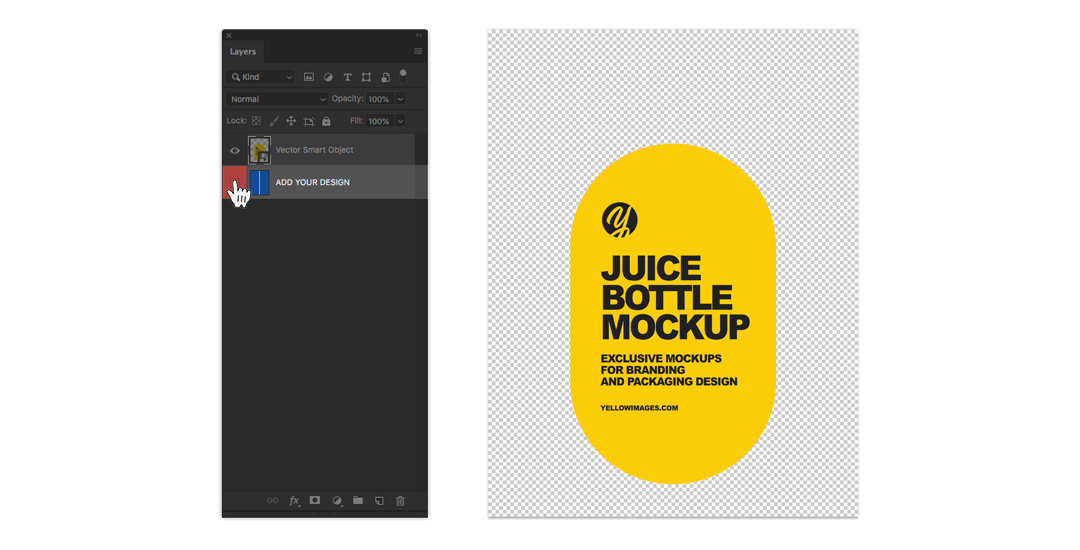
Save the changes you've applied to the smart object to make the design appear on the bottle. Now you can close the tab with the smart object using the hotkeys Cmd+W (for MacOs) and Ctrl+W (for Windows), or just press the 'X' on the tab.

There you go!
We've completely changed the size and the shape of the label. Use this quick and easy method to try out new ideas and make your designs stand out!
